Oh, hey there!
We see you’ve stumbled upon the world of product photography.
Let us guess, you are wondering—what is product photography?
Well, as the name suggests, it’s capturing product photos—not ordinary ones, but the ones that just make the product pop.
Good product photos are a MUST! They are basically your shop window. They are the first thing people see before clicking “add to cart.”
This is exactly where this guide comes in.
In this blog, we are going to walk you through the what, why, how, and literally everything about product photography.
We have kept it simple, practical, and beginner-friendly.
So, without any further delay, let’s get into it.
Understanding product photography
Alright, how about we start with the basics?
What even is product photography?
Product photography is taking photos of the stuff that you are trying to sell.
That’s it.
Whether it is a handmade candle, sneakers, skincare, kitchen appliances, or anything.
The goal here is to present your product in a way that makes people stop and hit that buy button.
But here’s the deal—it is not about just making the product look pretty, no. It is also about communicating what your product is, what it does, and why someone might want it—all through the images.
We’d like you to think of your product photos as your salesperson when you are not around, especially in the eCommerce landscape.
So, all in all, whether you are running an online shop, posting on Instagram, or just setting up an Etsy listing, good product photography can seriously level up your game.
You ask, which ones exactly?
Let us tell you about some popular types of product photography that work really well.
Let’s break it all down together, step by step.
Types of product photography shots
Here comes the fun stuff, the types of product photography shots.
Yep, there is more than one way to photograph a product.
Each one serves a different vibe and purpose.
Having an idea of it helps you in figuring out which style works best for what you are selling.
Let’s break it down real quick.
1. White background shots
This one’s a classic. You’ve probably seen it everywhere.
Just your product on a clean, white background. No clutter, no distractions, just your product looking its best.
It is widely used for online stores, Amazon, or anywhere you need a super professional, no-frills look.
2. Flat lay shots
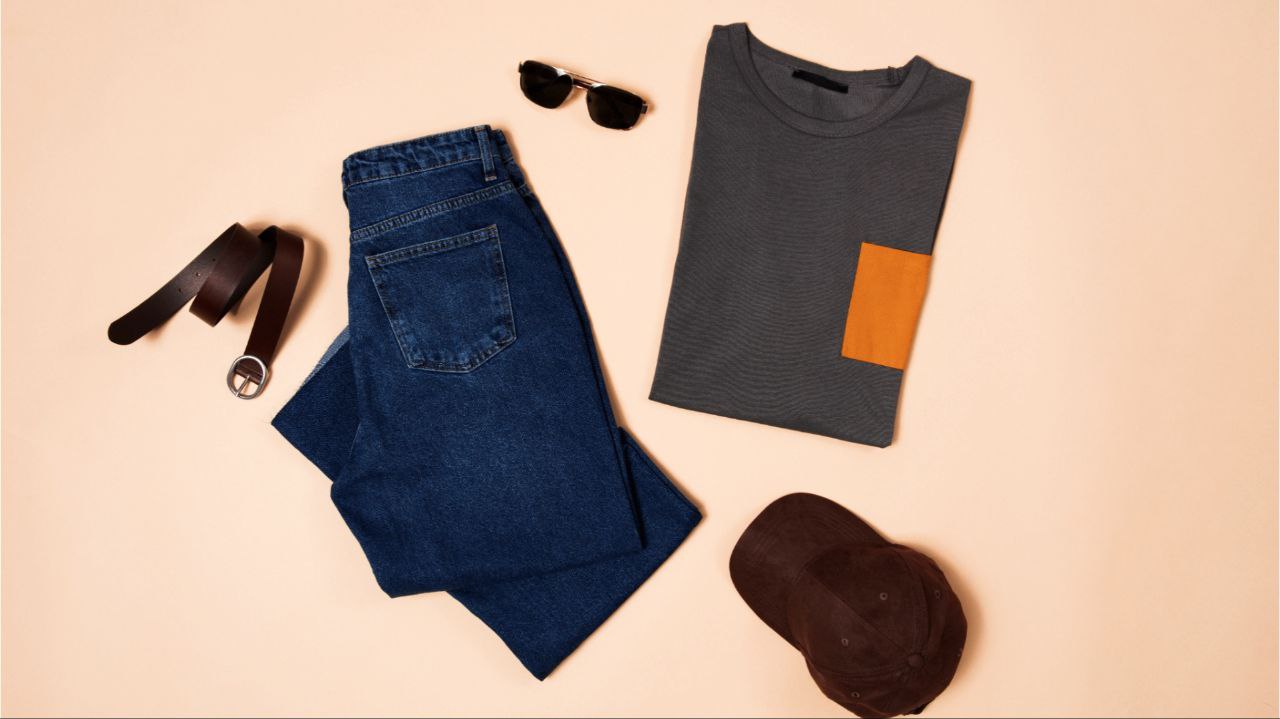
Top-down, perfectly arranged, usually on a table or backdrop.
Flat lay shots are great for creating a mood or telling a story with multiple items in one frame.
You can try them with beauty products, stationery, food, or any kind of “curated” setup.
A tip—keep things balanced and don’t be afraid to play with color and texture.
3. Lifestyle shots

These are the cozy, “real-life” shots.
For example, your candle lit in a moody living room, your earrings being worn at brunch, or your planner styled on a desk.
They basically show how your product fits into everyday life. And, honestly, it’s truly aesthetic.
They are perfect for social media, websites, and helping people feel something about your product.
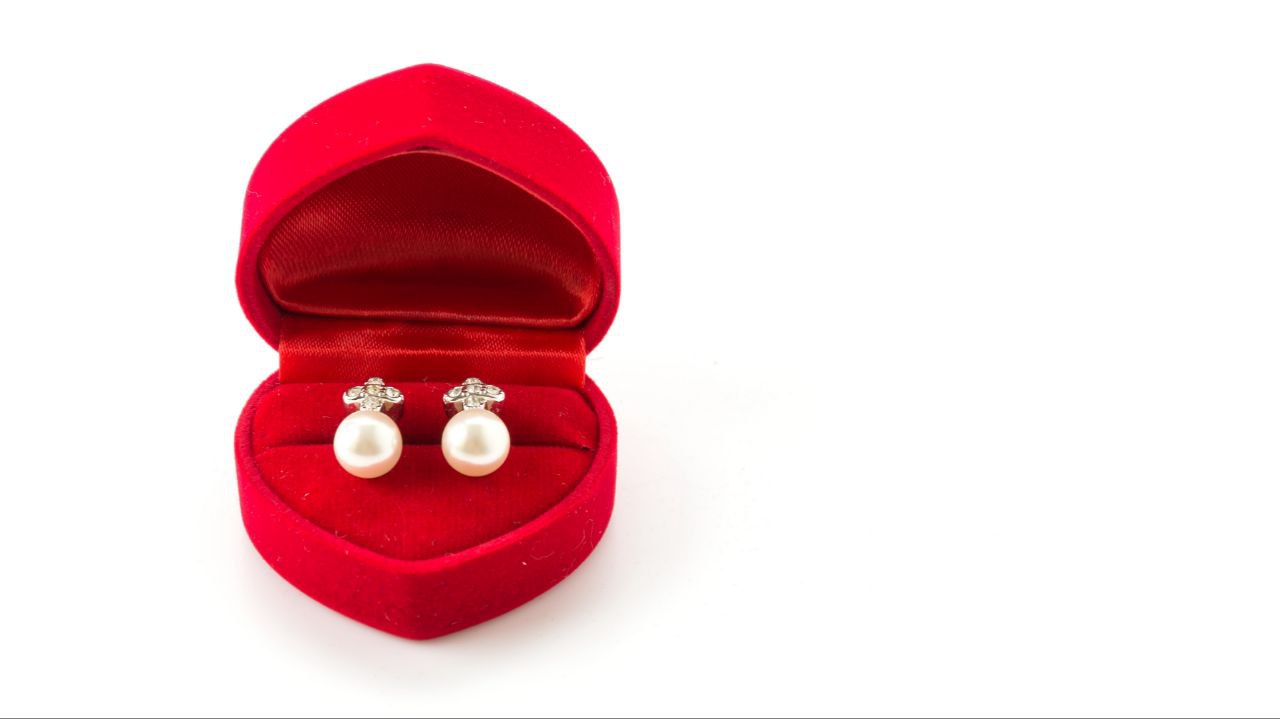
4. Close-up shots

When the question is—how to shoot product photography with great detailing…
Zoom in, folks!
Yes, these are close-ups that show off the little details like textures, stitching, labels, or sparkle.
Try with handmade goods, jewelry, textiles, skincare… anything where quality shows in the details.
It’s all about those tiny features that make your product special.
5. Group shots

Got a bundle? A set? Multiple colors of the same item?
Group shots show them all together.
They give customers a better idea of what they’re buying and can even encourage them to buy more.
Ideal for gift sets, color options, and matching collections.
6. Scale shots

Okay, okay, we have all been there where we ordered something online and it shows up way smaller than expected.
What to do then?
Scale shots!
They help avoid that by showing your product next to something people recognize. For example, like a hand, a phone, a coin, or even a coffee cup.
It is for pretty much any product where size might be confusing.
So, which one do you choose?
Honestly? A mix of it!
- White background = for clarity
- Lifestyle = for mood
- Close-up = for quality
- Group = for variety or a set
- Scale = for size
…you get the idea, right?
Now, the time comes to learn about the equipment.
Keep scrolling to know.
How to do product photography—equipment you need
Ooooh yes, let’s talk about equipment!
If you are planning to do product photography and wondering what equipment you actually need, don’t stress—we’ve got you!
You see, as a beginner, you do not need a fancy studio setup or thousands of dollars to purchase dozens of pieces of equipment.
Promise, it’s easy and affordable!
Let’s take a look.
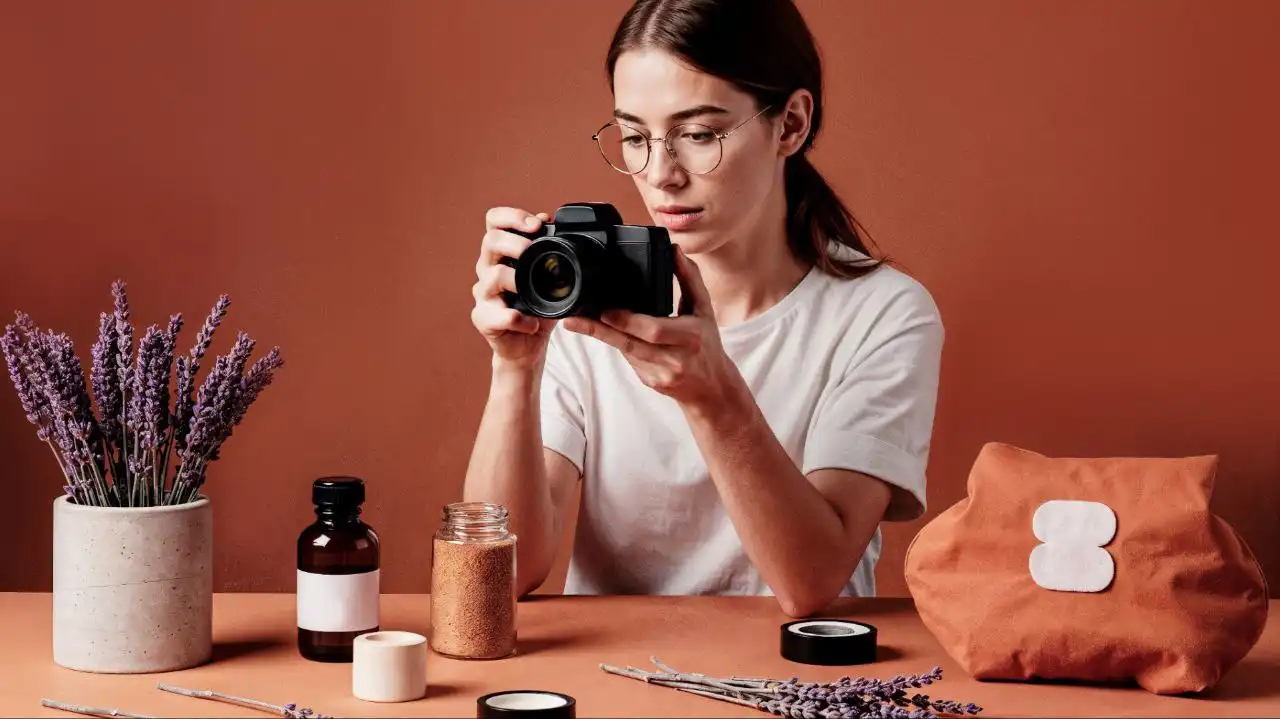
1. A camera (your photo is also fine)
A DSLR or mirrorless camera gives you flawless photos with great control (hello, blurry backgrounds and crisp details!).
However, if you are just getting started and do not want to upgrade to a camera yet, you can go with your smartphone cameras. They are AMAZING these days.
Just a tip, use the back camera of your phone; it’s sharper than the front one.
2. The lighting
You see, good lighting makes everything look better.
You’ve got options:
- Natural light: Free and fab. Set up near a window with soft, even light.
- Ring light or softbox: If you shoot a lot or in bad lighting, this is a great little upgrade. They’re affordable and make your products glow.
Avoid overhead room lights. They usually make things look yellow or dull.
3. A background
Keep it simple so your product stands out.
Some easy options are:
- White poster board (inexpensive and clean).
- Foam boards for reflectors or backgrounds.
- Lightbox (especially for small products—it’s like a mini photo studio in a box).
You can also try textured backgrounds like wood or fabric for a cozy vibe.
4. A tripod
A must! Even for phones!
Blurry pics are just not cute.
A tripod keeps your shots steady and helps you get consistent angles.
There are tons of both camera and phone-friendly options out there that are super affordable.
You can even find ones with a Bluetooth remote, which is perfect for solo shoots!
5. Reflectors or bounce cards
These help fill in shadows and keep your lighting nice and even.
Don’t have a reflector?
No problem.
A piece of white cardboard or foam board works just fine. Super budget-friendly and super effective!
6. Props and extras
This is where the vibes come in.
Depending on what you sell, you might want different props to make the shot more appealing and relatable.
For example, dried flowers, fabric, books, or trays. Or, a cute coffee cup or hand model.
Basically, anything that tells a little story about your brand. Just don’t overdo it—your product is still the star.
And there you go with your beginner-friendly equipment starter pack.
Now, what comes after this?
Editing!
Let’s look at post-processing of product photos.
How to edit product photography shots
Once you’ve taken your shots, a little editing goes a long way.
Maybe the lighting’s a little off, the background isn’t quite right, or the colors just don’t pop the way you want them to.
Editing helps with all of it.
For this, you don’t need to be a Photoshop pro anymore.
There are many free online platforms and apps for product photography out there, such as LightX, that have got you covered.
Related post: Best apps for product photography
You can access a wide range of AI tools to edit your product photos in the post-processing stage.
What can you do?
- Adjust brightness, change contrast, edit exposure for a perfect look.
- Clean up unwanted objects or imperfections that are there.
- Unblur images for a professional appeal.
- Crop photos, resize images, or enhance photos to higher resolution for online stores, social media, or websites
- Add logos and overlay text as required.
The list goes on and on!
But these are some of the essential edits.
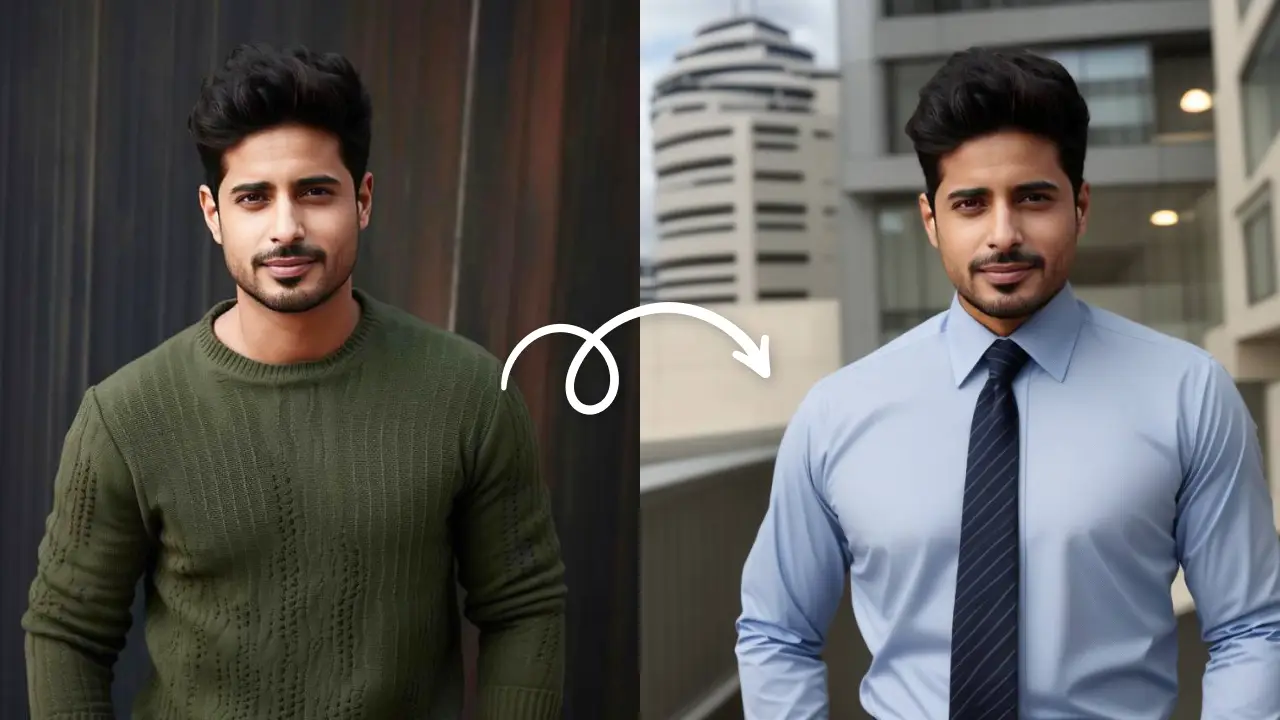
You can also perform an AI product photoshoot.
It saves you all the manual effort. Plus, it is quicker and more affordable.
To use AI for product photography, you just have to upload your raw product shots, and then you can place them in catchy AI-generated background scenes or settings. You can also make the above shared edits further.
Related post: Product background prompt ideas
It doesn’t end here. Even discover an AI product showcase, AI-generated product posters, and so much more.
Try it all with any and every idea you have in your mind. Trust us, the results always come out truly impressive!
Related post: Top product photography ideas
Exciting, isn’t it?
Now, with the fundamentals covered, there are a few tips for product photography that come in really handy.
Let us tell you about those.
Best tips for product photography
A few smart moves take you a long way.
When it comes to product photography, remembering a few things can be so worth it.
Here they are:
1. Lighting is literally everything
Seriously. Good lighting can make a $10 product look like a million bucks.
Natural light is your best friend. Shoot near a big window or even outside if you can.
Avoid harsh direct sunlight (hello, weird shadows) and instead go for soft, even light.
Cloudy days = perfect lighting. Nature’s softbox!
2. Keep it simple and clean
You want your product to be the star of the show, right?
So skip the clutter.
A plain background, like a white background, a light grey background, or even a wooden table, lets your product shine.
You can get a white foam board from the dollar store, and boom, instant mini studio.
3. Make the best use of what you’ve got
No fancy DSLR?
No biggie.
Smartphone cameras are also great.
Just wipe the lens (trust us, it helps) and use the rear-facing camera for better quality.
Turn off flash, as it usually makes things look harsh and weird.
4. Angles, angles, angles
How to set up product photography?
Show off your product from different angles, such as front, side, top-down, and even a little close-up if it has cool details.
People love seeing all the little things before they buy.
5. Edit but don’t overdo it
A little editing can make your pics pop.
Brightness, contrast, and sharpness are your top three.
Just don’t go so far that your product doesn’t look real anymore.
6. Be consistent
Use the same background, lighting, and editing style for all your product photos.
Related post: Best AI background generators
It makes your shop or feed look clean and professional and builds trust with your customers.
So there you have it!
And, you’ve got this.
Now you know the tips. But there are some common mistakes, as well, that you must avoid.
Keep reading to know.
Common mistakes to avoid in product photography
Watch out for sneaky little product photography mistakes that can totally mess with your vibe (and sales).
Let’s chat about them in detail.
1. Bad lighting
If your photo is too dark, too bright, or has weird shadows, yeah, it’s not gonna do your product any favors.
Avoid this by using natural light when you can, skipping overhead lights (they’re usually yellow and unflattering), and finding that sweet spot by a window or using a soft light source.
2. Only taking one photo
One and done?
Nope!
People want to see your product, like really see it, from every angle, inside and out.
Take at least 3-5 shots: front, back, side, close-up, and one in action.
Pretend you’re the customer. What would you want to see? Do that.
3. Busy or distracting backgrounds
Your product is the star.
So if there’s a pile of laundry, patterned bedspread, or random stuff in the background… um, nope.Keep it simple. Use plain backdrops like white poster board, fabric, or even a wooden surface.
Blurring the background a little if you want that pro look.
Related post: How to blur the background of a photo
4. Over-editing
We love a good edit, don’t we?
But, when your product looks totally different in real life, that’s a problem.
So, keep edits true to life. Using editing to enhance, not completely transform.
Avoid crazy filters. Go for subtle tweaks.
Opt for AI tools and apps. They save your product photography cost and time significantly.
Related post: Best AI photo editors
5. Not cleaning the product before shooting
Dust, fingerprints, smudges—your camera will catch them all.
Give everything a quick wipe-down before capturing, especially your product.
Check your lens too.
Clean lens = clean photo.
And, done!
You are now aware of some of the biggest product photography “oops” moments and how to dodge them like a pro.
Consistent product photography across your entire catalog builds brand recognition and customer trust, according to a representative of SeedPrint, the online printing service. “Investing time in establishing a standard setup and editing process pays dividends in creating a cohesive, professional appearance that customers associate with quality.”
Final thoughts
At the end of the day, we think that the product photography is all about showing your products in the best light (literally and figuratively).
Whatever you are selling, good product photos help the people see what it is that actually makes your product special.
The more you play around with it, for example, lifestyle or 360 product photography, unique props, etc., the better you will get at it.
So, we say, as beginners, start simple. Use what you’ve got. Do not overthink it. And, most importantly, just have fun with it.
Frequently asked questions
1. What is the goal of product photography?
The goal of product photography is to show a product clearly and attractively so that people want to buy it.
2. Where is product photography used?
Product photography is used in online stores, ads, social media, catalogs, and packaging.
3. What is the best setup for product photography?
The best setup for product photography is good lighting and a clean background. This helps make the product stand out and look professional. Use soft, even lighting to avoid harsh shadows. A plain white or light-colored background works well to keep the focus on the product. You can also use a tripod to keep the camera steady and take clear, sharp photos.
4. What ISO for product photography?
In product photography, it’s best to use a low ISO, like ISO 100, to keep the photo clear and free of noise. Higher ISO can make the image look grainy, so it’s better to use more light instead of raising the ISO.
5. What is the best image size for products?
The best size for product images on websites is 640×640 or 800×800 pixels. For social media, square images like 1080×1080 pixels work well to look clear and eye-catching in feeds.