Introduction: The Sunset Dilemma
You took a photo of yourself in front of a sunset.
The sun behind you looks bright, nice, and clear, but your face is dark.
You increase the brightness—your face becomes visible, but the sun looks washed out.
You try contrast—the sun gets brighter, and your face turns darker.
It feels like a “Sophie’s choice”: you can either save the background or the subject.
But here’s the thing: that’s not actually how it has to work. Most people reach for brightness and contrast without really understanding what each one does and that’s what leads to the frustration.
In this guide, I’ll break down exactly
✓ What brightness and contrast are,
✓ how each one affects your image,
✓ when to use which one (or both),
✓ and the most common mistakes to avoid.
By the end, you’ll know how to use these two tools together to save almost any shot.
Brightness vs Contrast
Definition:
- Brightness is the overall lightness of an image.

- Contrast makes bright areas brighter and dark areas darker.

How it works:
- Brightness is not biased; it treats the entire photo equally. Light areas get brighter, but on the positive side, dark areas become visible.
- Contrast, on the other hand, separates lights and darks and helps add depth and clarity to a photo.
Impact:
- Increasing brightness → adds more light to the entire image
Decreasing brightness → makes the entire image darker
- Increasing contrast → intensifies light and dark areas separately
Decreasing contrast → makes the image look flat and reduces separation between tones
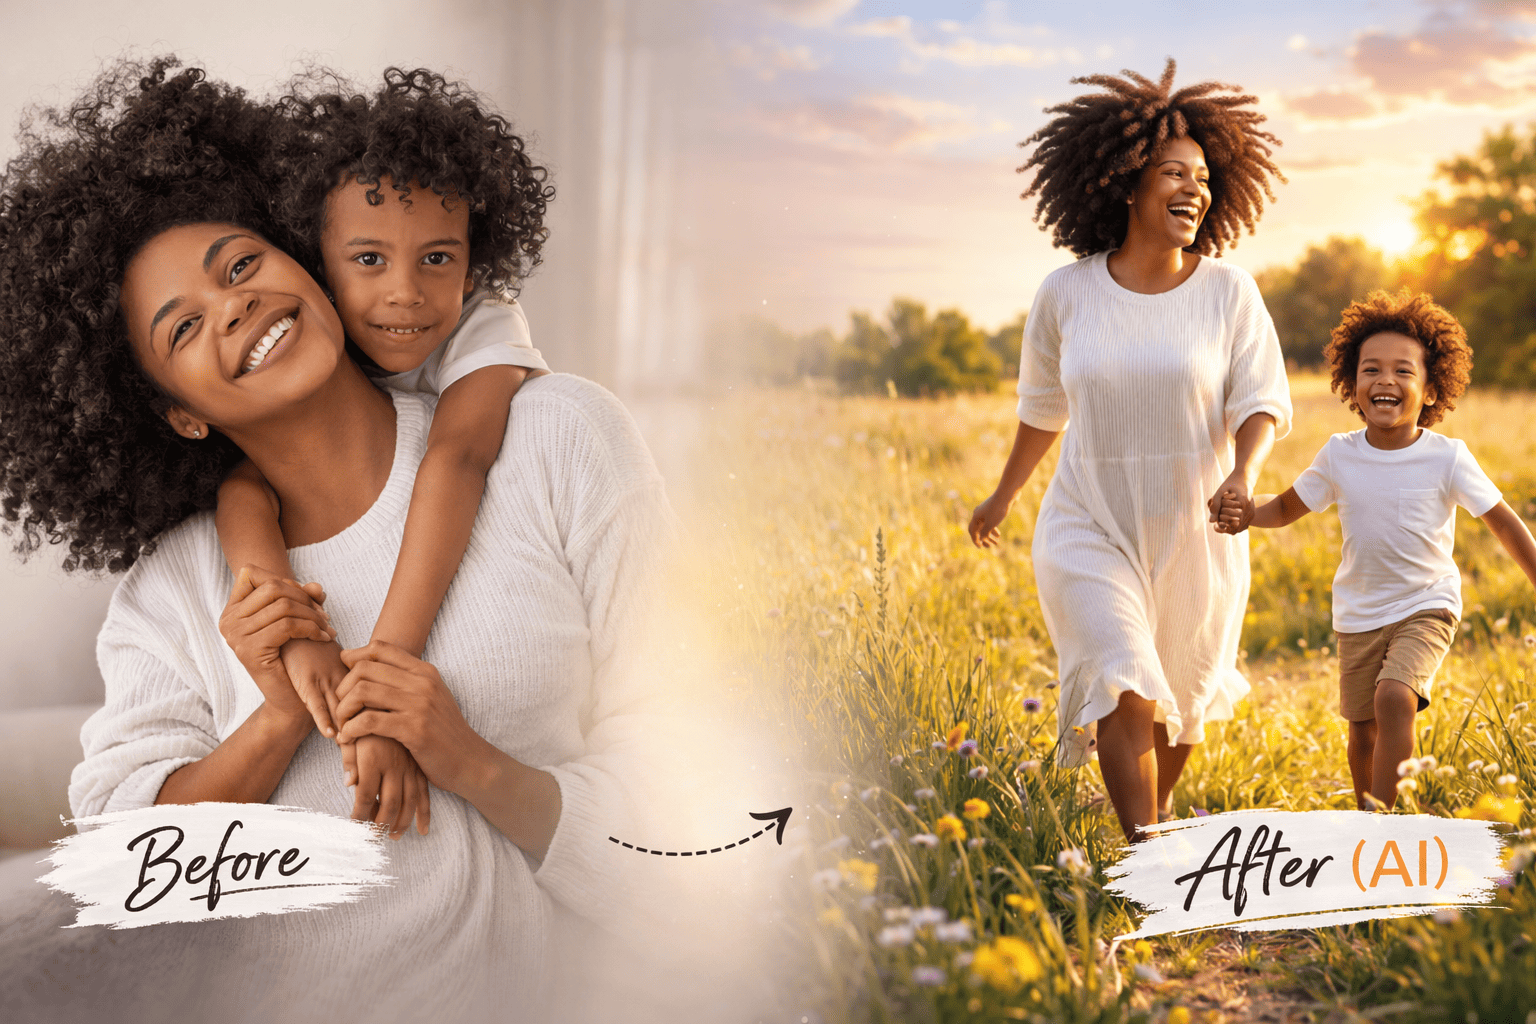
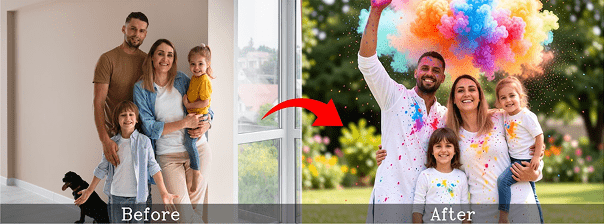
Why Adjust Brightness and Contrast at All?
Your camera doesn’t always capture what your eyes see.
They can’t hold detail in both very bright and very dark areas. That’s why almost every photo benefits from some post-processing.
Proper brightness and contrast adjustment help you:
✓ Recover faces or main subjects
✓ Tame blown-out skies or bright windows
✓ Add depth and dimension
✓ Make colors pop
How to Adjust Brightness and Contrast: Step-by-Step
1. On Your Phone While Capturing
Getting your exposure right before you take the shot saves you a lot of work later. Both iPhone and Android have built-in tools for this.
iPhone
- Open the Camera app and frame your shot.
- Tap on your subject on the screen. A yellow focus box will appear.
- Next to the focus box, you’ll see a sun icon with a vertical slider.
- Swipe up on that slider to increase brightness (exposure). Swipe down to reduce it.
- Once you’re happy, tap the shutter button and take your photo.
Pro tip: If you want to lock both focus and exposure, press and hold on your subject until you see “AE/AF Lock” at the top of the screen.
Android
- Open your Camera app (steps are similar across most Android brands — Samsung, Pixel, OnePlus, etc.).
- Tap on your subject on the screen to set focus.
- A focus circle or box will appear, often with a sun or brightness icon nearby.
- Tap and drag the sun icon up to brighten or down to darken the exposure.
- On some Android phones (especially Samsung in Pro mode), you can also manually set EV (Exposure Value) for finer control.
Pro tip: If your phone supports it, switch to Pro or Manual mode in the camera app. This gives you direct control over ISO and shutter speed. These two settings actually control how much light hits the sensor, giving you far more precision than the slider alone.
2. In Post-Processing with LightX
Capturing a great exposure in-camera is step one. But post-processing is where you fine-tune, fix mistakes, and give your photo that polished, intentional look. LightX makes this straightforward on both mobile and desktop.
LightX App (Android and IOS)
- Open LightX and import the photo you want to edit.
- In the editor section, tap … three dots and select Adjustment tool
- Upload photo
- You’ll see a list of sliders, scroll to find Brightness and Contrast.
- Start with Brightness- drag right to lighten, left to darken. Get your subject looking naturally exposed before touching anything else.
- Then move to Contrast- drag right to add depth and punch, left to soften. Watch how the shadows and highlights respond.
- Once you’re satisfied, tap the checkmark / Apply button to confirm.
- Hit Export / Save to save the edited image to your gallery.
Pro tip: LightX also has a Highlights and Shadows slider. Use them after setting brightness and contrast for surgical control. Reduce Highlights to recover a blown-out sky; increase Shadows to bring back detail in dark areas.
LightX Desktop
- Open LightX on your desktop and load your image.
- Upload your photo
- Click on Brightness, drag the slider, or type a value directly. Start conservative; small moves go a long way.
- Move to Contrast next. Increase it until the image feels three-dimensional rather than flat. Check that your shadows aren’t getting crushed.
- Use the before/after toggle to compare your edit to the original, this is one of the best habits you can build.
- When you’re happy, click Apply, go to Download, and choose your format and quality settings.
Pro tip: On desktop you have more screen real estate. Zoom in to 100% before finalizing your edit.
When to Use Brightness vs. Contrast: By Photography Style
Here’s how to approach brightness and contrast settings across different shooting contexts:
| Style | Use Brightness For | Use Contrast For | How to Balance |
| Portrait | Skin glow | Defining each facial feature | Keep brightness slightly higher; add mild contrast. Avoid harsh skin rendering |
| Landscape | Lifting the dull sky | Depth and object detail | Start with brightness, then increase contrast for depth |
| Product | Showing the product details clearly | Define edges properly | Keep brightness even; add moderate contrast for sharpness |
| Black & White | Optional | Bifurcating colors | Set contrast first, then fine-tune brightness if needed |
| Night / Low Light | Revealing shadow detail | Maintaining darkness and mood | Increase brightness slightly; control contrast to keep the night feel |
| Food | Fresh, appetising feel | Texture and surface detail | Higher brightness, low to medium contrast |
| Architecture | Balancing exposure | Highlighting geometric structure | Keep brightness neutral; increase contrast for clean lines |
| Macro | Revealing fine subject detail | Emphasising minute textures | Slight brightness boost, higher contrast for detail separation |
| Street / Documentary | Limited use | Dramatic or noir style | Lower brightness, push contrast for mood |
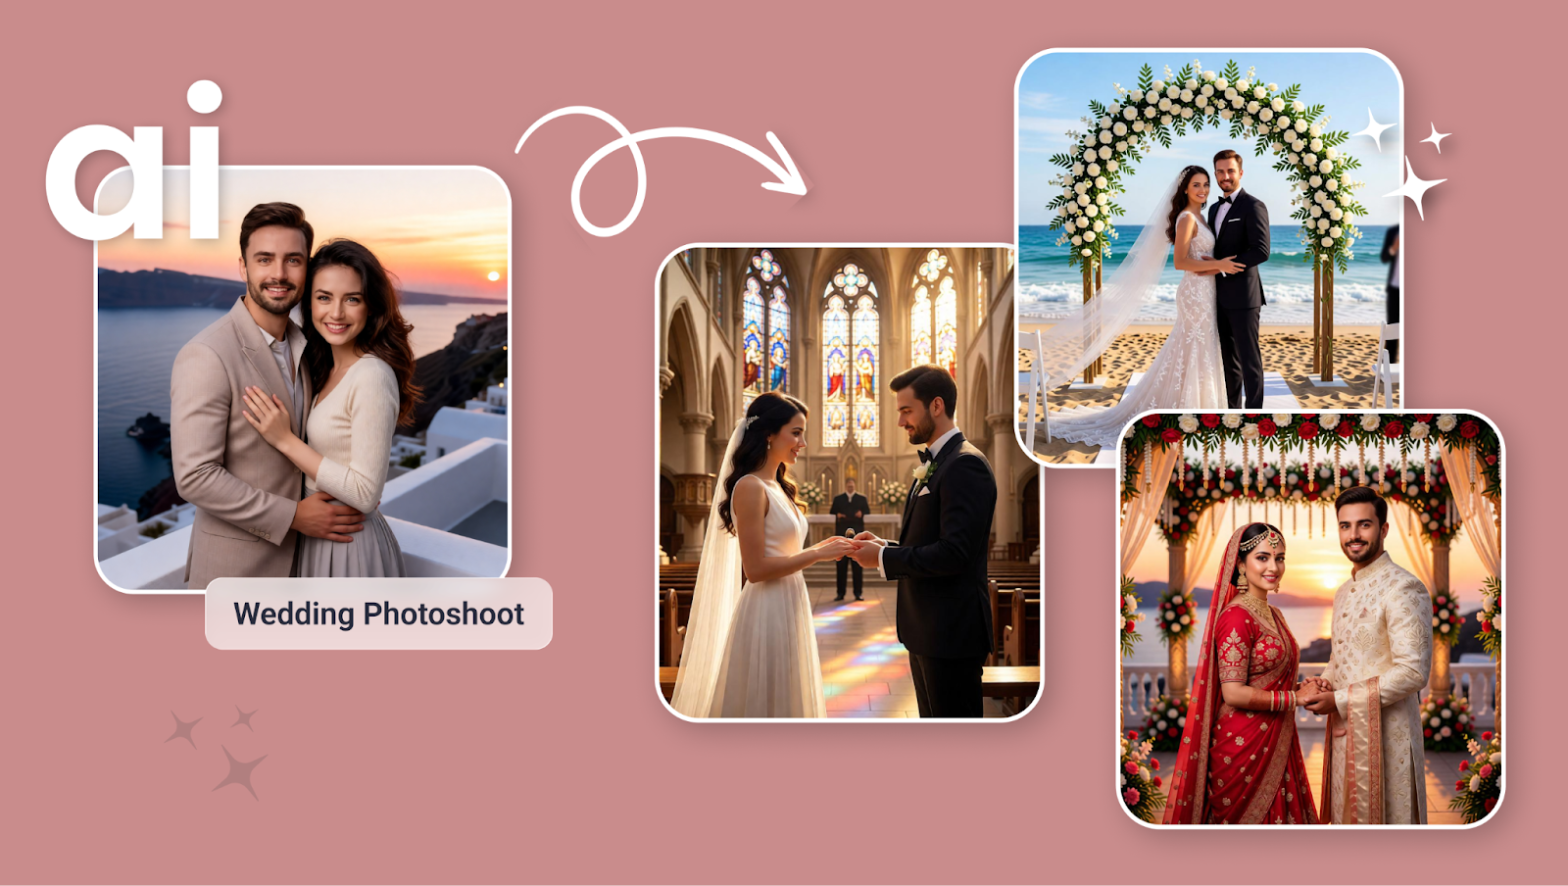
| Wedding | Airy, romantic feel | Emotional depth | Higher brightness, soft contrast |
| Astrophotography | Revealing faint nebula detail | Star separation from sky | Increase brightness carefully; use contrast to isolate stars |
| E-commerce | Consistent product exposure | Edge and edge definition | Maintain consistent brightness across products; add light contrast |
Tips for Adjusting Brightness and Contrast Like a Pro
- Use the histogram, not just your eyes. The histogram gives you the objective truth.
- Make small moves. Dramatic slider changes look dramatic and rarely in a good way. Most great edits are subtle.
- Adjust contrast before color grading. Contrast affects how saturated colors appear. Get your tones right first.
- For black and white images, contrast is king. Without color, contrast creates mood, separation, and drama. Spend more time here than on brightness.
- Try the Tone Curve instead of the Contrast slider when you need precision. The Contrast slider is blunt; the Tone Curve is a scalpel. (Photoshot is best for this)
Common Brightness and Contrast Mistakes (and How to Fix Them)
1. Washed-Out Look
Cause: Too much brightness with too little contrast.
Fix: Pull brightness back slightly and increase contrast to restore depth.
2. Crushed Blacks
Cause: Contrast pushed too high, shadow detail is gone.
Fix: Lower contrast and use the Shadows slider to recover dark areas.
3. Blown Highlights
Cause: Brightness increased too far, bright areas lose all detail.
Fix: Reduce brightness and use the Highlights slider to bring back sky or window detail.
4. Flat, Lifeless Image
Cause: Brightness is balanced but contrast is at zero.
Fix: Add contrast. Even a small increase makes a noticeable difference.
5. Accidental Color Shift
Cause: High contrast can push individual color channels to their limits, causing unexpected oversaturation.
Fix: After adjusting contrast, check your colors. Reduce saturation slightly if something looks unnatural.
Conclusion: The Right Way to Think About Brightness and Contrast
Brightness sets the stage. Contrast tells the story.
Brightness is just a starting point. It gets the overall exposure to a natural level and makes your subject visible. Contrast is what gives the image personality, depth, and that professional “pop.”
Going back to the sunset selfie: the real fix isn’t about choosing brightness or contrast. It’s about using both strategically.
Reduce the face shadows with brightness (or better yet, with a dedicated Shadows slider). Then add contrast to restore depth and keep the sky from going flat. LightX gives you independent Highlights and Shadows sliders, so you truly don’t have to sacrifice your face or the background.