You frame the shot perfectly, tap the shutter, and later realize the photo is not the same as the real view.
Maybe the sky is way too bright. Skin tones look faded, highlights are blown out, or the details you intended to capture are not there.
Overexposure happens more than you think.
Bright sun, snow, beach, white walls, and stage lights → they are all high-risk situations for overexposure.
The good news? It’s fixable.
In this blog, I’ll explain it in a detailed yet simple way, and keep it short and to the point.
What is an overexposed photo?
An overexposed photo is an image that is too bright.
It happens when too much light hits the camera sensor. As a result, bright areas lose detail and appear completely white or faded.
Types of overexposure
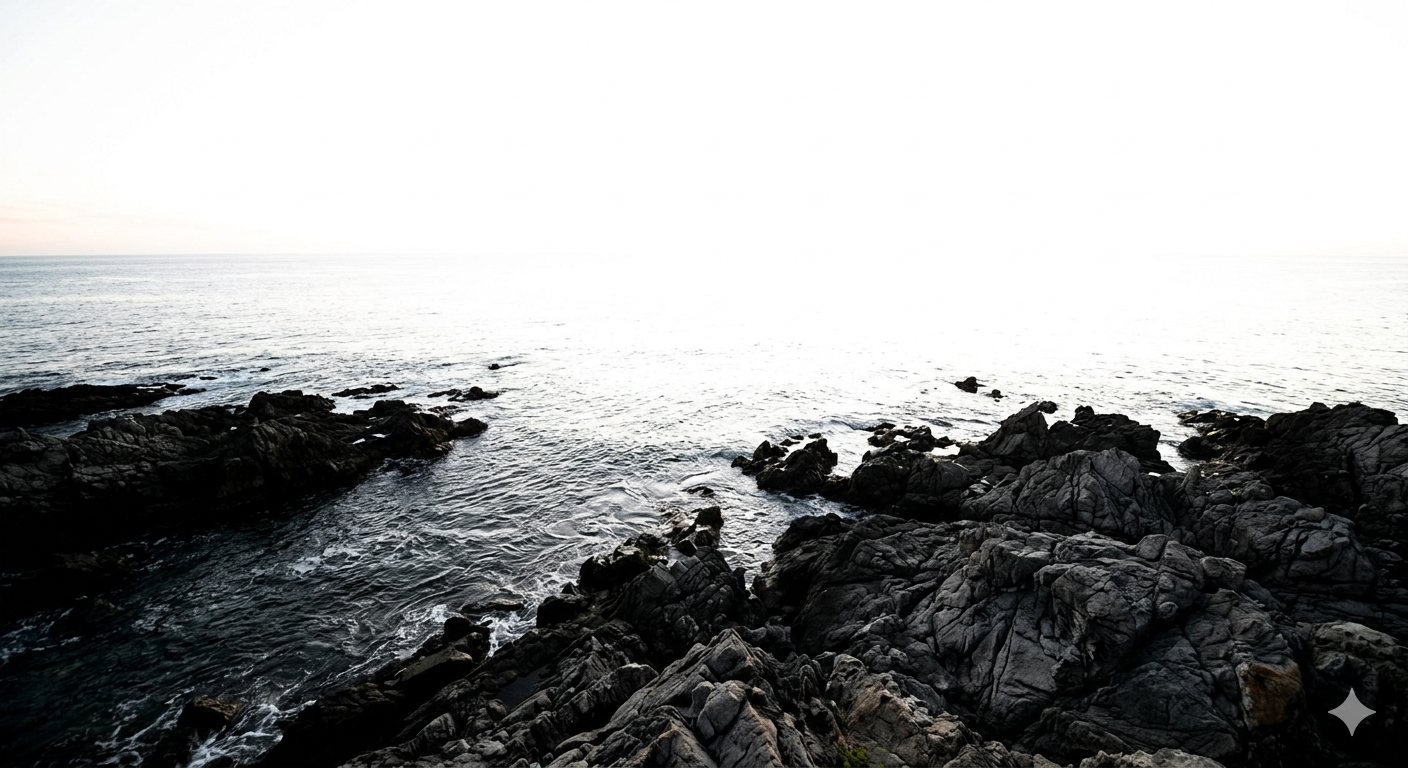
High-contrast coastal photo showing “blown-out” highlights where the sky is pure white and missing all cloud and horizon detail.
Full overexposure
The entire image is too bright and lacks detail across the frame.
Partial overexposure
Only certain parts of the image are too bright, while the rest looks normal. Sometimes the subject is too bright, like when the window light is hitting the person directly, and the skin looks flat and shiny. Sometimes the background is too bright, like when a person is sitting in front of a bright window, and the window turns pure white.
Highlight clipping
Bright areas turn pure white and permanently lose all detail.
Lighting-based overexposure
Caused by strong flash, harsh backlight, glare, or direct sunlight hitting the lens.
Common signs that your photo is overexposed
Whether you’re using a phone or a DSLR, the screen shows the exposure in real time.
Compare the real scene to the camera screen. Your photos are overexposed if the image looks very bright and details in the white areas are gone.
Some of the common signs for each type of photo are:
Portrait: Skin looks pale or washed out, the forehead, nose, or cheeks have bright white patches, or facial details look soft or faded.
Landscape: Sky appears completely white with no clouds, no texture on sunlit areas, or the overall image looks flat and extra bright.
Product: The product’s surface looks shiny, the colors look lighter than real life and no details or texture are visible.
Wildlife: Fur or feathers lose texture in sunlight, or the grass or sky looks washed out.
Street photography: Pavements or buildings look washed out, sunlight creates harsh white areas, or subjects lose detail in direct light.
Wedding photography: The bride’s white dress loses fabric detail, washed-out faces and white decorations seem flat.
Food photography: Loss of details on the food, plates too shiny or less richness in colors.
Night-time photos: Night photos are usually dark overall. But some parts can still be overexposed when streetlights or headlights appear as large glowing blobs, or flash makes the subject too bright while the background stays dark.
How to avoid overexposure in photography
The best way to fix an overexposed photo is to prevent it from happening in the first place. Your device (whether it’s a phone or a DSLR) actually tries to warn you before you even press the shutter.
Here is how to spot the warning signs and fix them on the fly:
When using a DSLR/ Mirrorless Camera
| The Sign | How to Check | How to Avoid |
| The image looks too bright | Check LCD preview | Use exposure compensation (-EV). |
| Histogram pushed to the right | Enable histogram view | Increase shutter speed or use a higher f-number. |
| Bright areas blinking | Turn on highlight warning | Lower ISO until highlights return. |
| Sky or whites losing detail | Zoom into the preview | Switch to spot or center-weighted metering. |
| Subject too bright in the sunlight | Observe lighting direction | Move to shade or change shooting angle. |
Quick tip: Control exposure using the Exposure Triangle — ISO, Shutter Speed, and Aperture.
When using an iPhone (iOS)
| The Sign | How to Check | How to Avoid |
| Preview looks too bright | Watch the live camera screen | Tap the subject and drag the sun icon down. |
| Sky turning white | Tap and hold the screen | Lock AE/AF and reduce exposure manually. |
| Face looks washed out | Check skin tones | Tap directly on the face for correct exposure. |
| Harsh outdoor lighting | Observe shadows | Shoot in softer light (morning/evening). |
| High contrast scenes | Check background brightness | Turn on Smart HDR. |
Quick tip: Always adjust exposure before pressing the shutter — iPhone shows changes in real time.
When using an Android phone
| The Sign | How to Check | How to Avoid |
| Image preview is too bright | Look at the camera preview | Tap the subject and the lower exposure slider. |
| Highlights washed out | Zoom slightly on the screen | Reduce brightness before clicking. |
| Bright sunlight glare | Observe reflections | Change the angle or move to shade. |
| Auto mode struggling | Switch camera mode | Use Pro/Manual mode with low ISO. |
| Flash too harsh | Review the image quickly | Turn flash off or reduce intensity. |
Quick tip: In Pro mode, keep ISO low (around 50–100) in bright daylight to prevent overexposure.
How to Fix Overexposure Through Editing (Manual Methods)
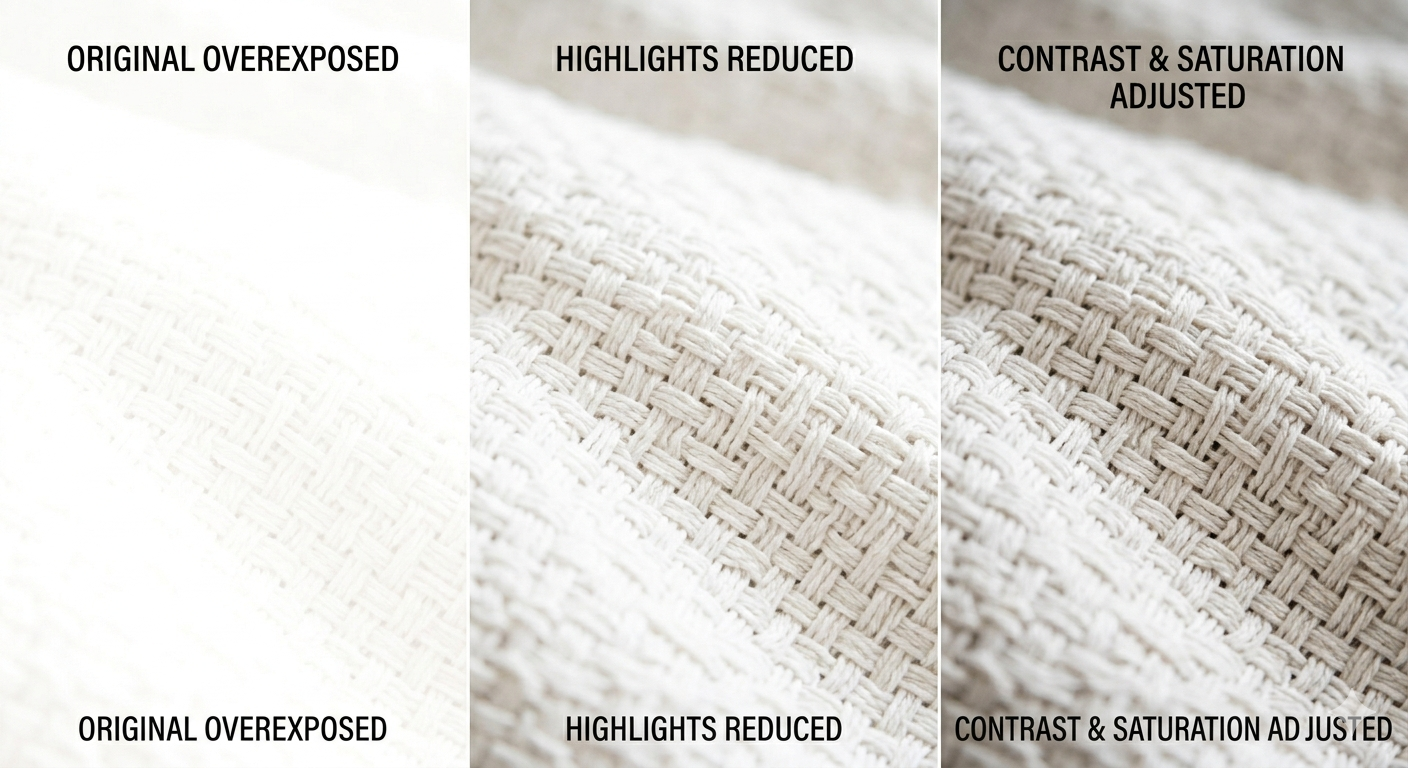
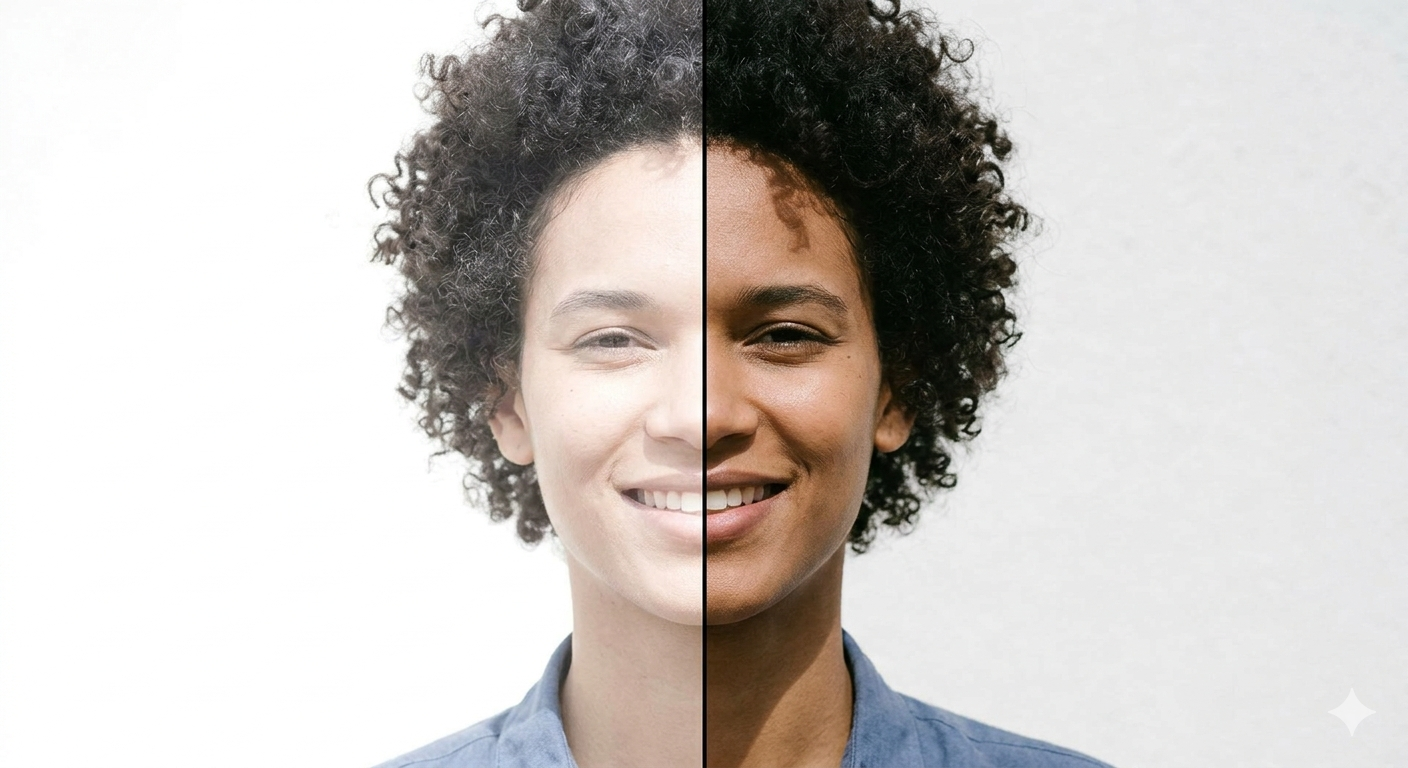
Three-panel edit: (Left) Flat white texture; (Middle) Recovered weave detail; (Right) Final deep, tactile texture with natural warmth.
If you already clicked your pictures, you do not need to worry about it. Most photo editing tools allow you to recover brightness & bring back details, especially if some image information is still preserved.
Here are a few steps that you need to follow to fix the overexposure.
Step-by-step manual fixes
- Lower Exposure
Start by reducing the overall exposure or brightness.
This quickly balances the image and reduces the harsh brightness. - Reduce Highlights
This is the most important adjustment.
Lowering highlights helps recover details in bright areas like the sky, skin, or light-colored clothes. - Lower Whites
Adjusting the whites slider restores texture in extremely bright parts of the image without darkening the entire photo. - Adjust Contrast
Overexposed photos often look flat. Increasing contrast slightly brings back depth and makes the image look more natural. - Reduce Shadows Slightly
After correcting the exposure, try to adjust the shadows to maintain balance & to avoid an unnatural look. - Adjust Temperature & Saturation
Most of the time, you may have noticed that overexposed photos usually appear pale or washed out. If you slightly increase the warmth & saturation, it helps restore the natural skin tone & achieve a more realistic effect.
Tip: Always try to make small adjustments instead of strong edits because subtle corrections usually give natural results.
How to fix overexposed photos with AI ( LightX )
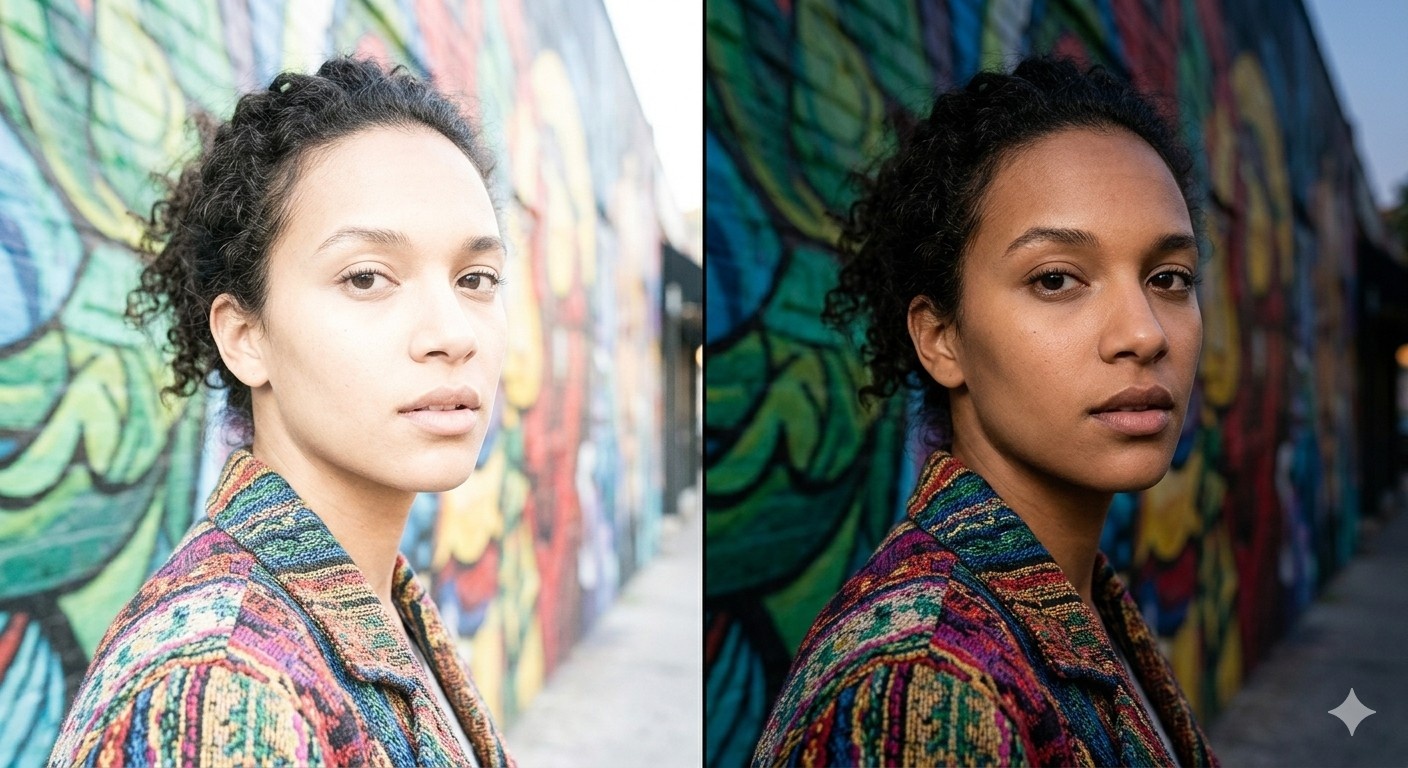
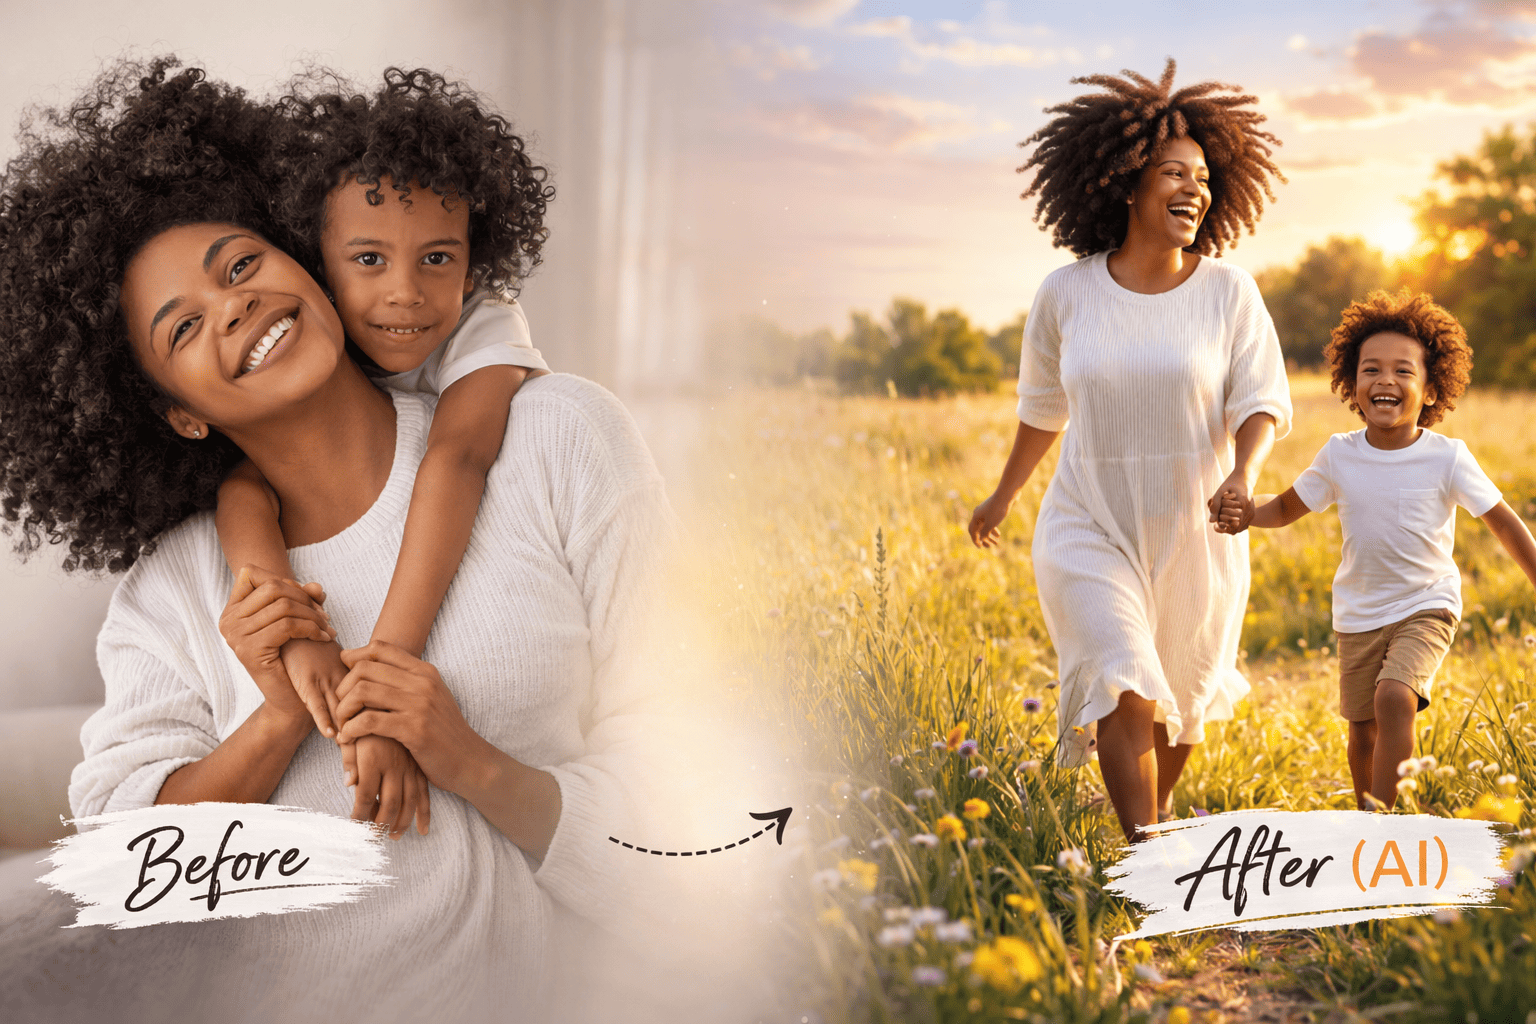
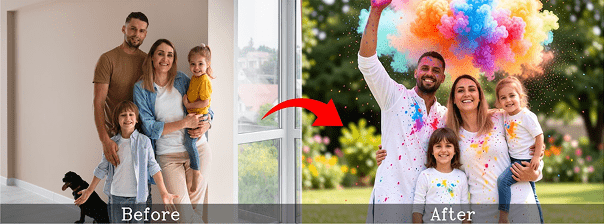
AI-corrected split: Left is a faded colorful mural and subject; right is a vibrant, balanced image with restored colors and skin texture.
AI editing tools like LightX can make corrections much easier because they automatically detect bright areas and rebalance lighting.
How AI helps
- It detects blown highlights automatically
- Helps to restore skin tones
- Balances brightness and contrast
- Recovers colors without manual sliders
Basic workflow
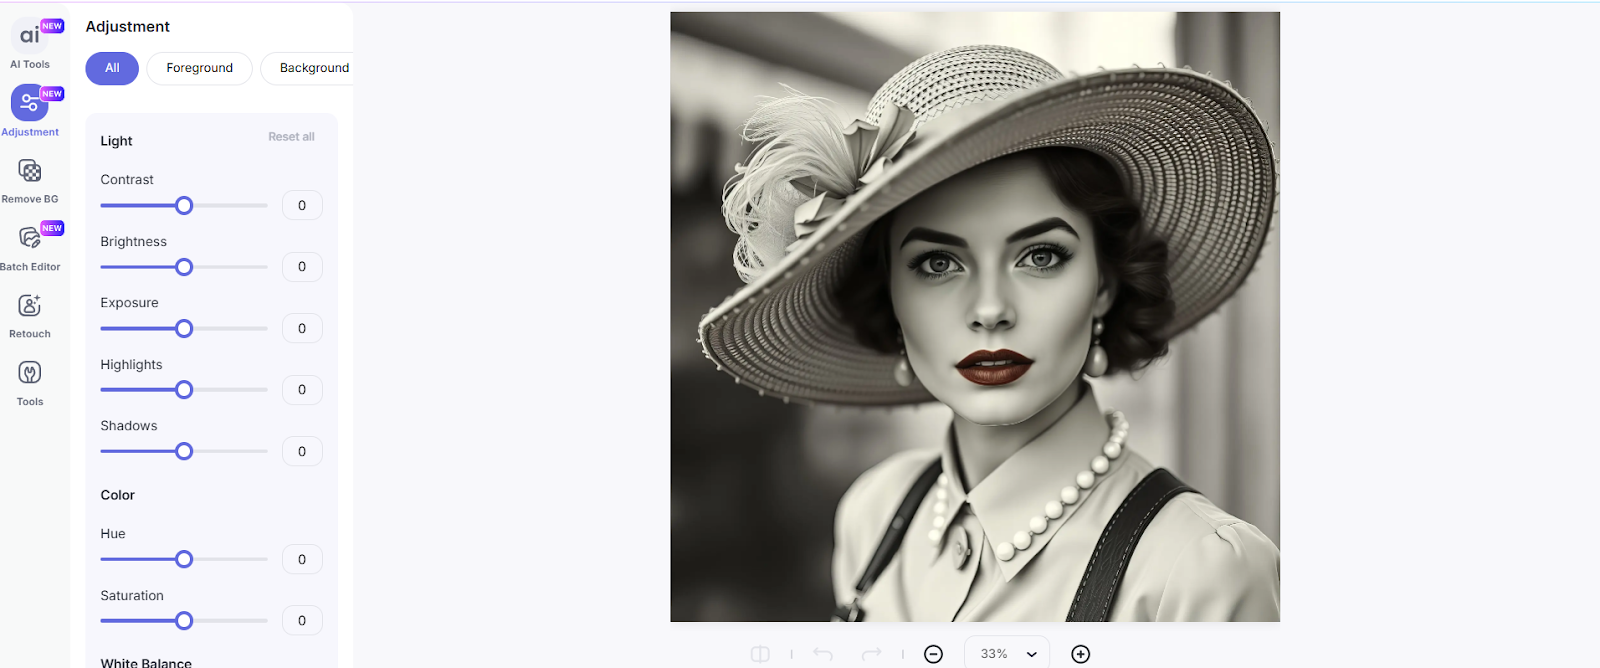
- Upload your photo to an Exposure Adjustment Tool.
- Adjust the exposure of your image using the Adjustment tool
- After clicking on apply, download your final image.
Tip: LightX lets you adjust the foreground and background separately. It automatically detects both, so you can change exposure without manual masking.
LightX works best for:
- Portrait photos
- Social media images
- Product photos
- Quick fixes without technical editing knowledge
Note: The AI tool can help to improve the brightness, but when the image is completely bright or white, you may not be able to recover fully because the image details are already lost.
Cases When You May Need to Fix Overexposed Photos
Overexposure happens in many real situations, even for experienced photographers. You may need correction when:
- Shooting in harsh midday sunlight
- Taking portraits near windows or bright backgrounds
- Beach or snow photography where light reflects strongly
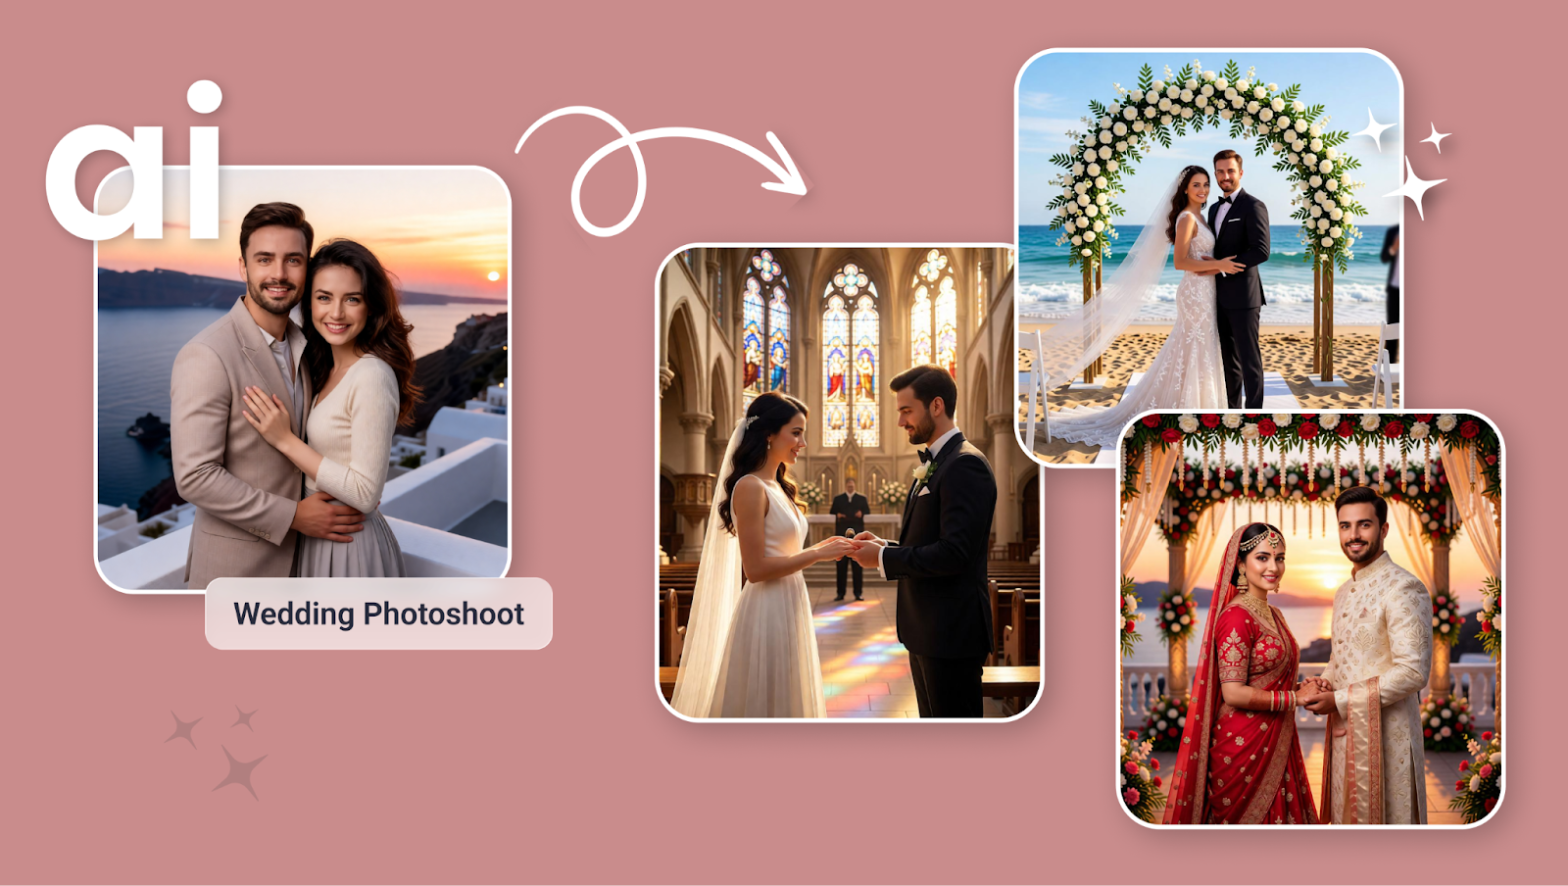
- Wedding photography (white dresses easily lose detail)
- Stage events with strong spotlights
- Food photography under direct lighting
- Night photos where streetlights appear too bright
- Flash photography makes faces look pale
Basically, anytime light is stronger than your camera expects, overexposure can happen.
Final Tip
Good photography is not just about making a photo brighter, but it’s about keeping details visible. Whether you are clicking from an Android, ios or any mirrorless camera, capturing a good photos is always needs good skill.
Most of the people then try to find out how to fix overexposed photos. But let me tell you, fixing overexposed pictures doesn’t need time, effort, or any skill. It’s all possible with tools like LightX. So, go confidently, click many photos because fixing it can be done in seconds
FAQs
What is the problem when your photo is overexposed?
The main problem is that photos details get lost. Bright areas turned into a white one, skin looks washed out & textures disappear. Once details get lost, you can’t recover your pictures fully.
What are common overexposure mistakes?
A few common overexposure mistakes are listed below :
- Shooting directly under harsh sunlight
- Using high ISO unnecessarily
- Using flash too close to the subject
- Not checking the exposure preview before clicking
- Ignoring histogram or brightness warnings
What causes overexposure?
Overexposure occurs when there is too much light reaching the camera sensor. It can be caused by anything, like slow shutter speed, wide aperture, high iso, strong lighting, or reflective environments like snow & beaches.
Is it easier to fix overexposed or underexposed photos?
Underexposed photos are way easier to fix than overexposed ones. It is because dark areas still have lots of hidden details, while overexposed pictures don’t have any details.
Does exposure make photos brighter?
Proper exposure helps maintain balanced brightness and visible detail. But when you maintain exposure, brightness & details will be more balanced.