Callout Illustrations
One way to bring your characters or templates to life is the Callout Illustration. It uses speech bubbles to convey the message. LightX Illustrations are an amazing way to make your text pop up and get noticed. You can of course add your CTA in one line, but it would be more noticeable if it is in a speech bubble of contrasting color! You’ll see what we mean once you use them yourself.

Print and Paper Illustrations
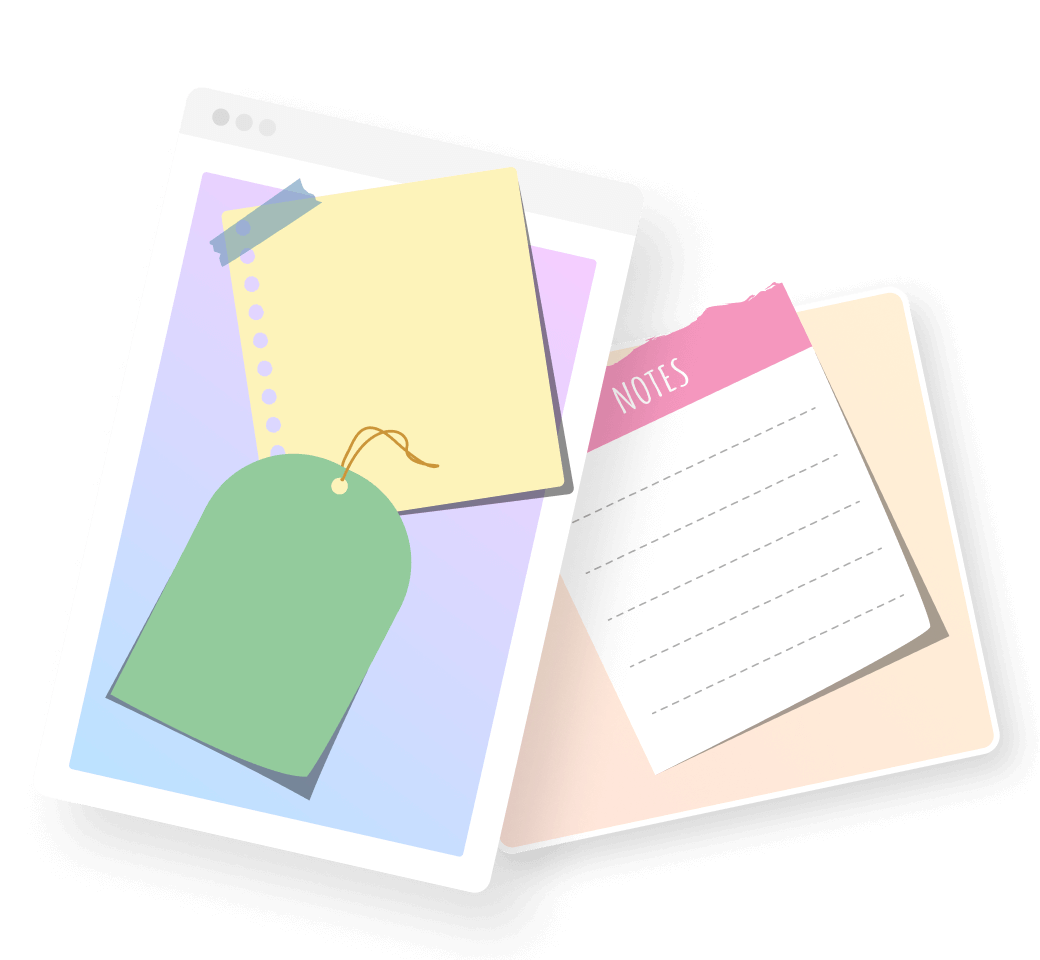
These illustrations are our personal favorite! When used creatively, notes, tags, and page illustrations add a lot of aesthetic in your visual or creative. Use them as it is or put some text right on top of them in the Handwriting font. It will come out as something very realistic. Use notes and tags when you want to add a quirky CTA to your social posts or visuals.

Social Media Illustrations
The very, very popular social media illustrations are amazingly useful. They are another set of very useful illustrations when it comes to CTA. LightX has different social media icons that you can add to your visuals and creatives. It becomes useful for your audience to know where you are available on social media. Also, if you are a YouTuber, you can add these illustrations to your outro to make your viewers aware of other platforms you are on.

Work Illustrations
Sending out a work memo and want to make it interesting? Informing your employees about development in the office and want to add a bit of quirk to it? Use LightX work illustrations like a stapler, a pen, pie chart, bar graph, and many more to level up your work-related visuals. These illustrations are colorful and would make your otherwise bland office documents and memos a bit interesting and fun to look at!

How to Add and Edit Illustrations
1. Choose Illustration
While working on a project, you will find the elements option on the sidebar. Click on Elements and it’ll open two menus.
2. Shapes and Illustrations
You can choose from two sets of elements- shapes or illustrations. Both of them further have a variety of categories. Find the one that suits you the best and click on it to place it on the project.
3. Edit and Customize
This is the fun part! Here you can fully customize the selected shape or illustration, right from all their colors to the opacity and their placement.

